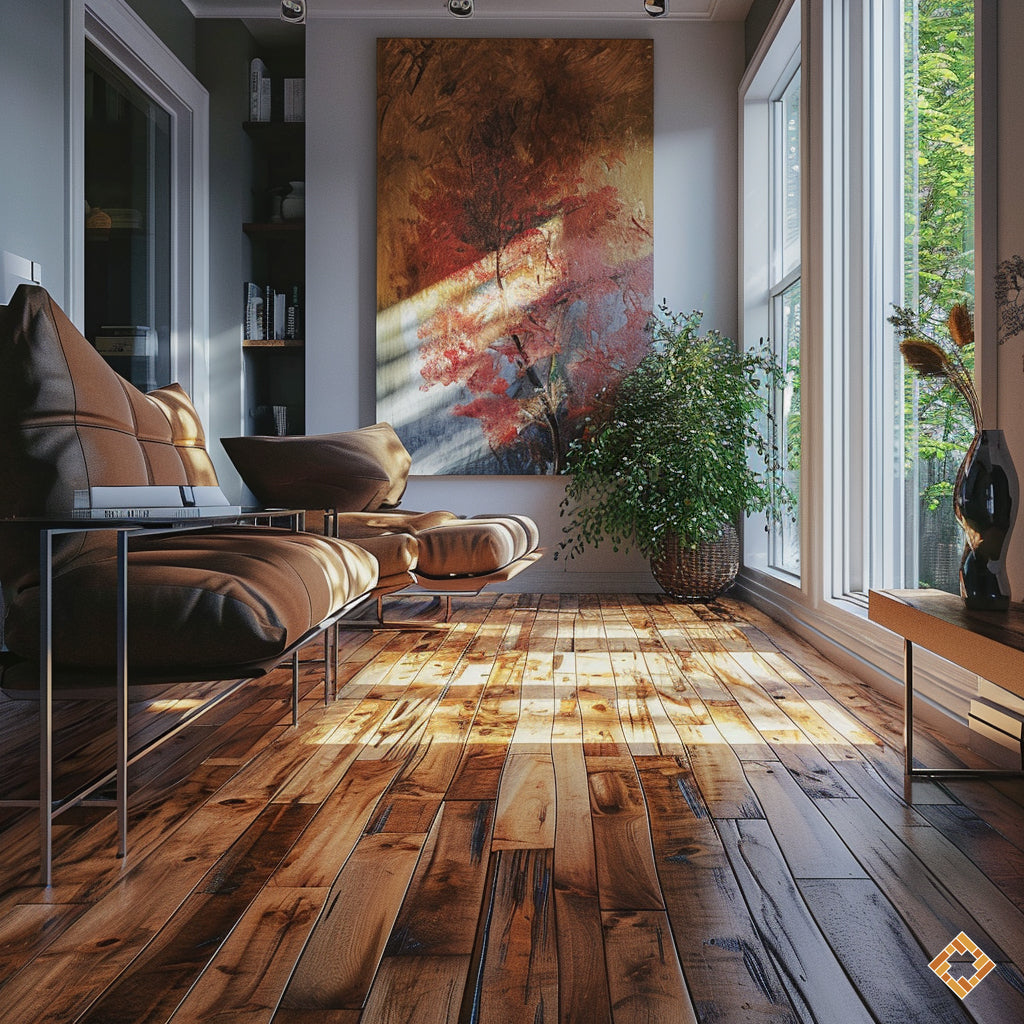
How to Renovate an Old Floor with Varnish: A Comprehensive Guide
Introduction
Renovating an old floor is a rewarding endeavor that can breathe new life into your living space while preserving its vintage charm. When you decide to renovate an old floor with varnish, you embark on a project that can dramatically enhance your interior's aesthetics. At Plancher Deluxe, we're here to guide you through the essential steps of this captivating and intricate renovation process.
Step 1: Initial Assessment
Before embarking on any renovation, it's crucial to gain a thorough understanding of your old floor's condition. Here are key steps for the initial assessment:
-
Meticulous Inspection: Examine your floor's condition closely. Look for damaged areas, scratches, cracks, and irregularities.
-
Stability Evaluation: Check the overall stability of the floor. Ensure there are no excessive movements or worrisome creaks.
-
Identify the Wood Type: Determine the type of wood used for your floor. This will influence the choice of suitable varnish.
-
Thickness Analysis: Measure the wood's thickness to see if you can carry out floor sanding to eliminate imperfections.
Step 2: Floor Sanding
Floor sanding is a crucial step in renovating an old floor. Here's what you need to know about it:
-
Proper Preparation: Before sanding, ensure the room is completely cleared of furniture or objects. Also, protect other surfaces to prevent damage.
-
The Sanding Process: Sanding involves removing the top layer of wood to eliminate imperfections. Different sanding methods are used based on the floor's condition.
-
Fine Sanding: After sanding, it's essential to perform fine sanding to achieve a smooth and uniform surface.
Step 3: Choosing the Varnish
The choice of varnish is critical for the success of your renovation. Consider these important factors:
-
Type of Varnish: Opt for high-quality varnish suitable for your floor's wood type. Water-based varnishes are preferred for their resistance to yellowing.
-
Finish: You have the option of matte, satin, or glossy finishes. Choose the one that best matches your preferred aesthetics.
-
Varnish Color: Some varnishes are transparent, while others impart a subtle wood tone. Select the color that suits your decor best.
Step 4: Varnish Application
Applying varnish requires precision and skill. Follow these steps for an optimal result:
-
Thorough Preparation: Ensure the surface is clean, dry, and free of dust. Any impurities can compromise the quality of the finish.
-
Even Application: Apply the varnish evenly, following the wood grain. Use a suitable brush or roller to avoid streaks.
-
Proper Drying: Allow the varnish to dry completely between coats. Follow the manufacturer's recommendations for drying times.
Step 5: Regular Maintenance
Once your floor is renovated, regular maintenance is crucial to preserve its beauty. Here are some tips for effective upkeep:
-
Gentle Cleaning: Use mild cleaning products specifically designed for varnished floors. Avoid abrasive products.
-
Avoid Excess Water: Don't use excessive water when cleaning, as excessive moisture can damage the varnish.
-
Shield from UV Rays: Protect your floor from direct UV rays by using curtains or blinds.
Conclusion
Renovating an old floor with varnish is a gratifying project that can entirely transform your space. By following these steps and enlisting the help of qualified professionals like Plancher Deluxe, you can breathe new life into your floor while preserving its unique character.
For top-quality floor sanding and varnishing services in Montreal, Laval, Longueuil, the South Shore, and the North Shore, contact Plancher Deluxe. We're here to guide you through this exciting renovation journey.

