Understanding Varnishing and Coloring
At Plancher Deluxe, a flooring company in Montreal, Laval, Longueuil, as well as the South Shore and North Shore, we are often asked about the possibility of changing the color of already varnished floors. The answer is nuanced and requires a deep understanding of the processes involved.
1. Evaluation of the Existing Floor
The first step is to assess the current condition of the floor. The nature of the previously applied varnish and the condition of the wood are determining factors.
2. Floor Sanding: A Crucial Step
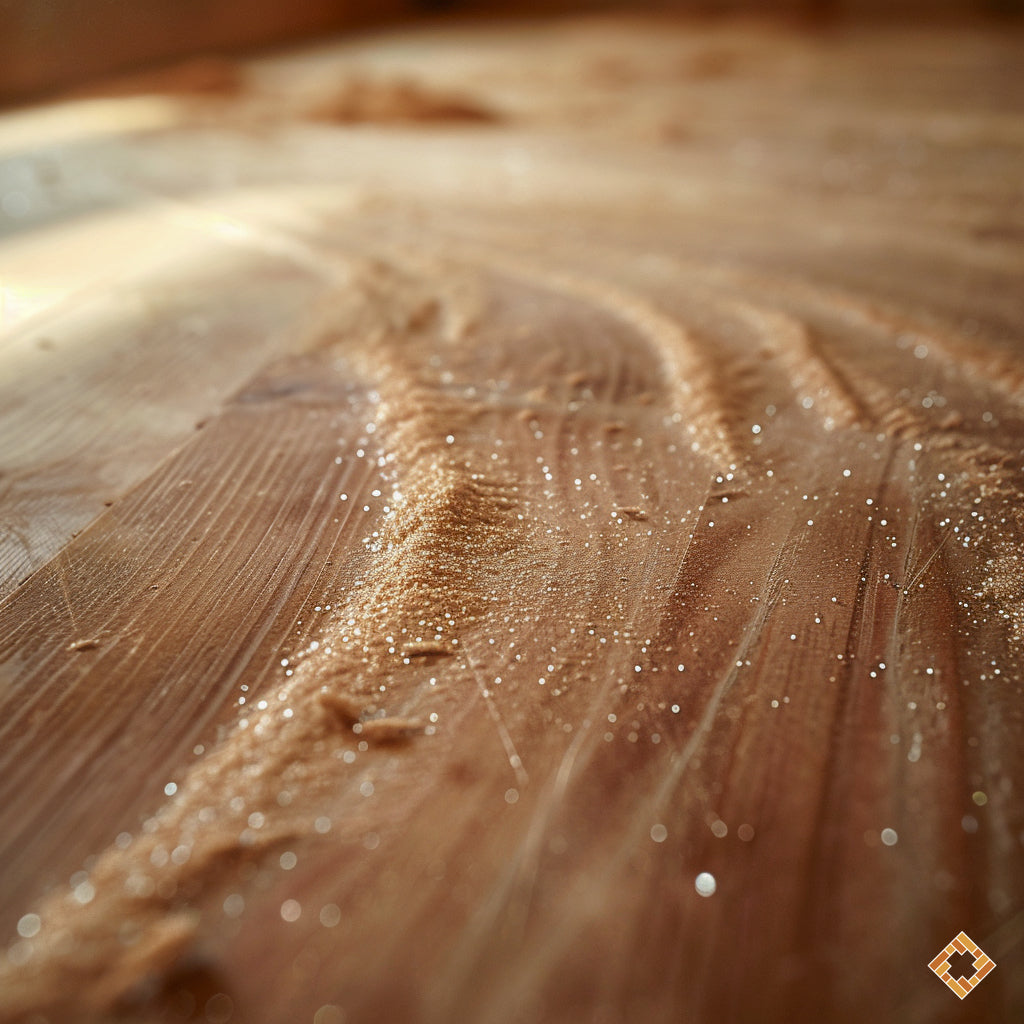
Floor sanding is essential. This step removes existing layers of varnish and prepares the wood for a new finish.
3. Choosing the Shade
After sanding, we proceed to select the new shade. This step heavily depends on the client's preferences and the characteristics of the wood.
The Coloring Process
1. Application of the Shade
After sanding, the chosen shade is applied. This step must be carried out carefully to ensure uniform coloring.
2. Checking and Corrections
Once the shade is applied, we meticulously inspect the floor to ensure uniformity and make corrections if necessary.
3. Application of the New Varnish
Finally, a new varnish is applied to protect the color and extend the floor's durability.
Why Choose Plancher Deluxe for This Task?
1. Expertise and Precision
Our team in Montreal possesses the expertise and precision necessary to successfully complete this type of project.
2. Satisfaction and Personalization
We pride ourselves on satisfying our clients by offering highly personalized service.
3. Quality and Durability
We use superior quality products to ensure the durability of our work.
Conclusion
Changing the color of a varnished floor is a complex process that requires professional intervention. At Plancher Deluxe, we have the expertise and tools necessary to successfully carry out this task. Contact us to transform your space in Montreal, Laval, Longueuil, as well as the South Shore and North Shore.

